
Zero To One
zigbee2mqtt, mosqutto, aws iot connect 본문
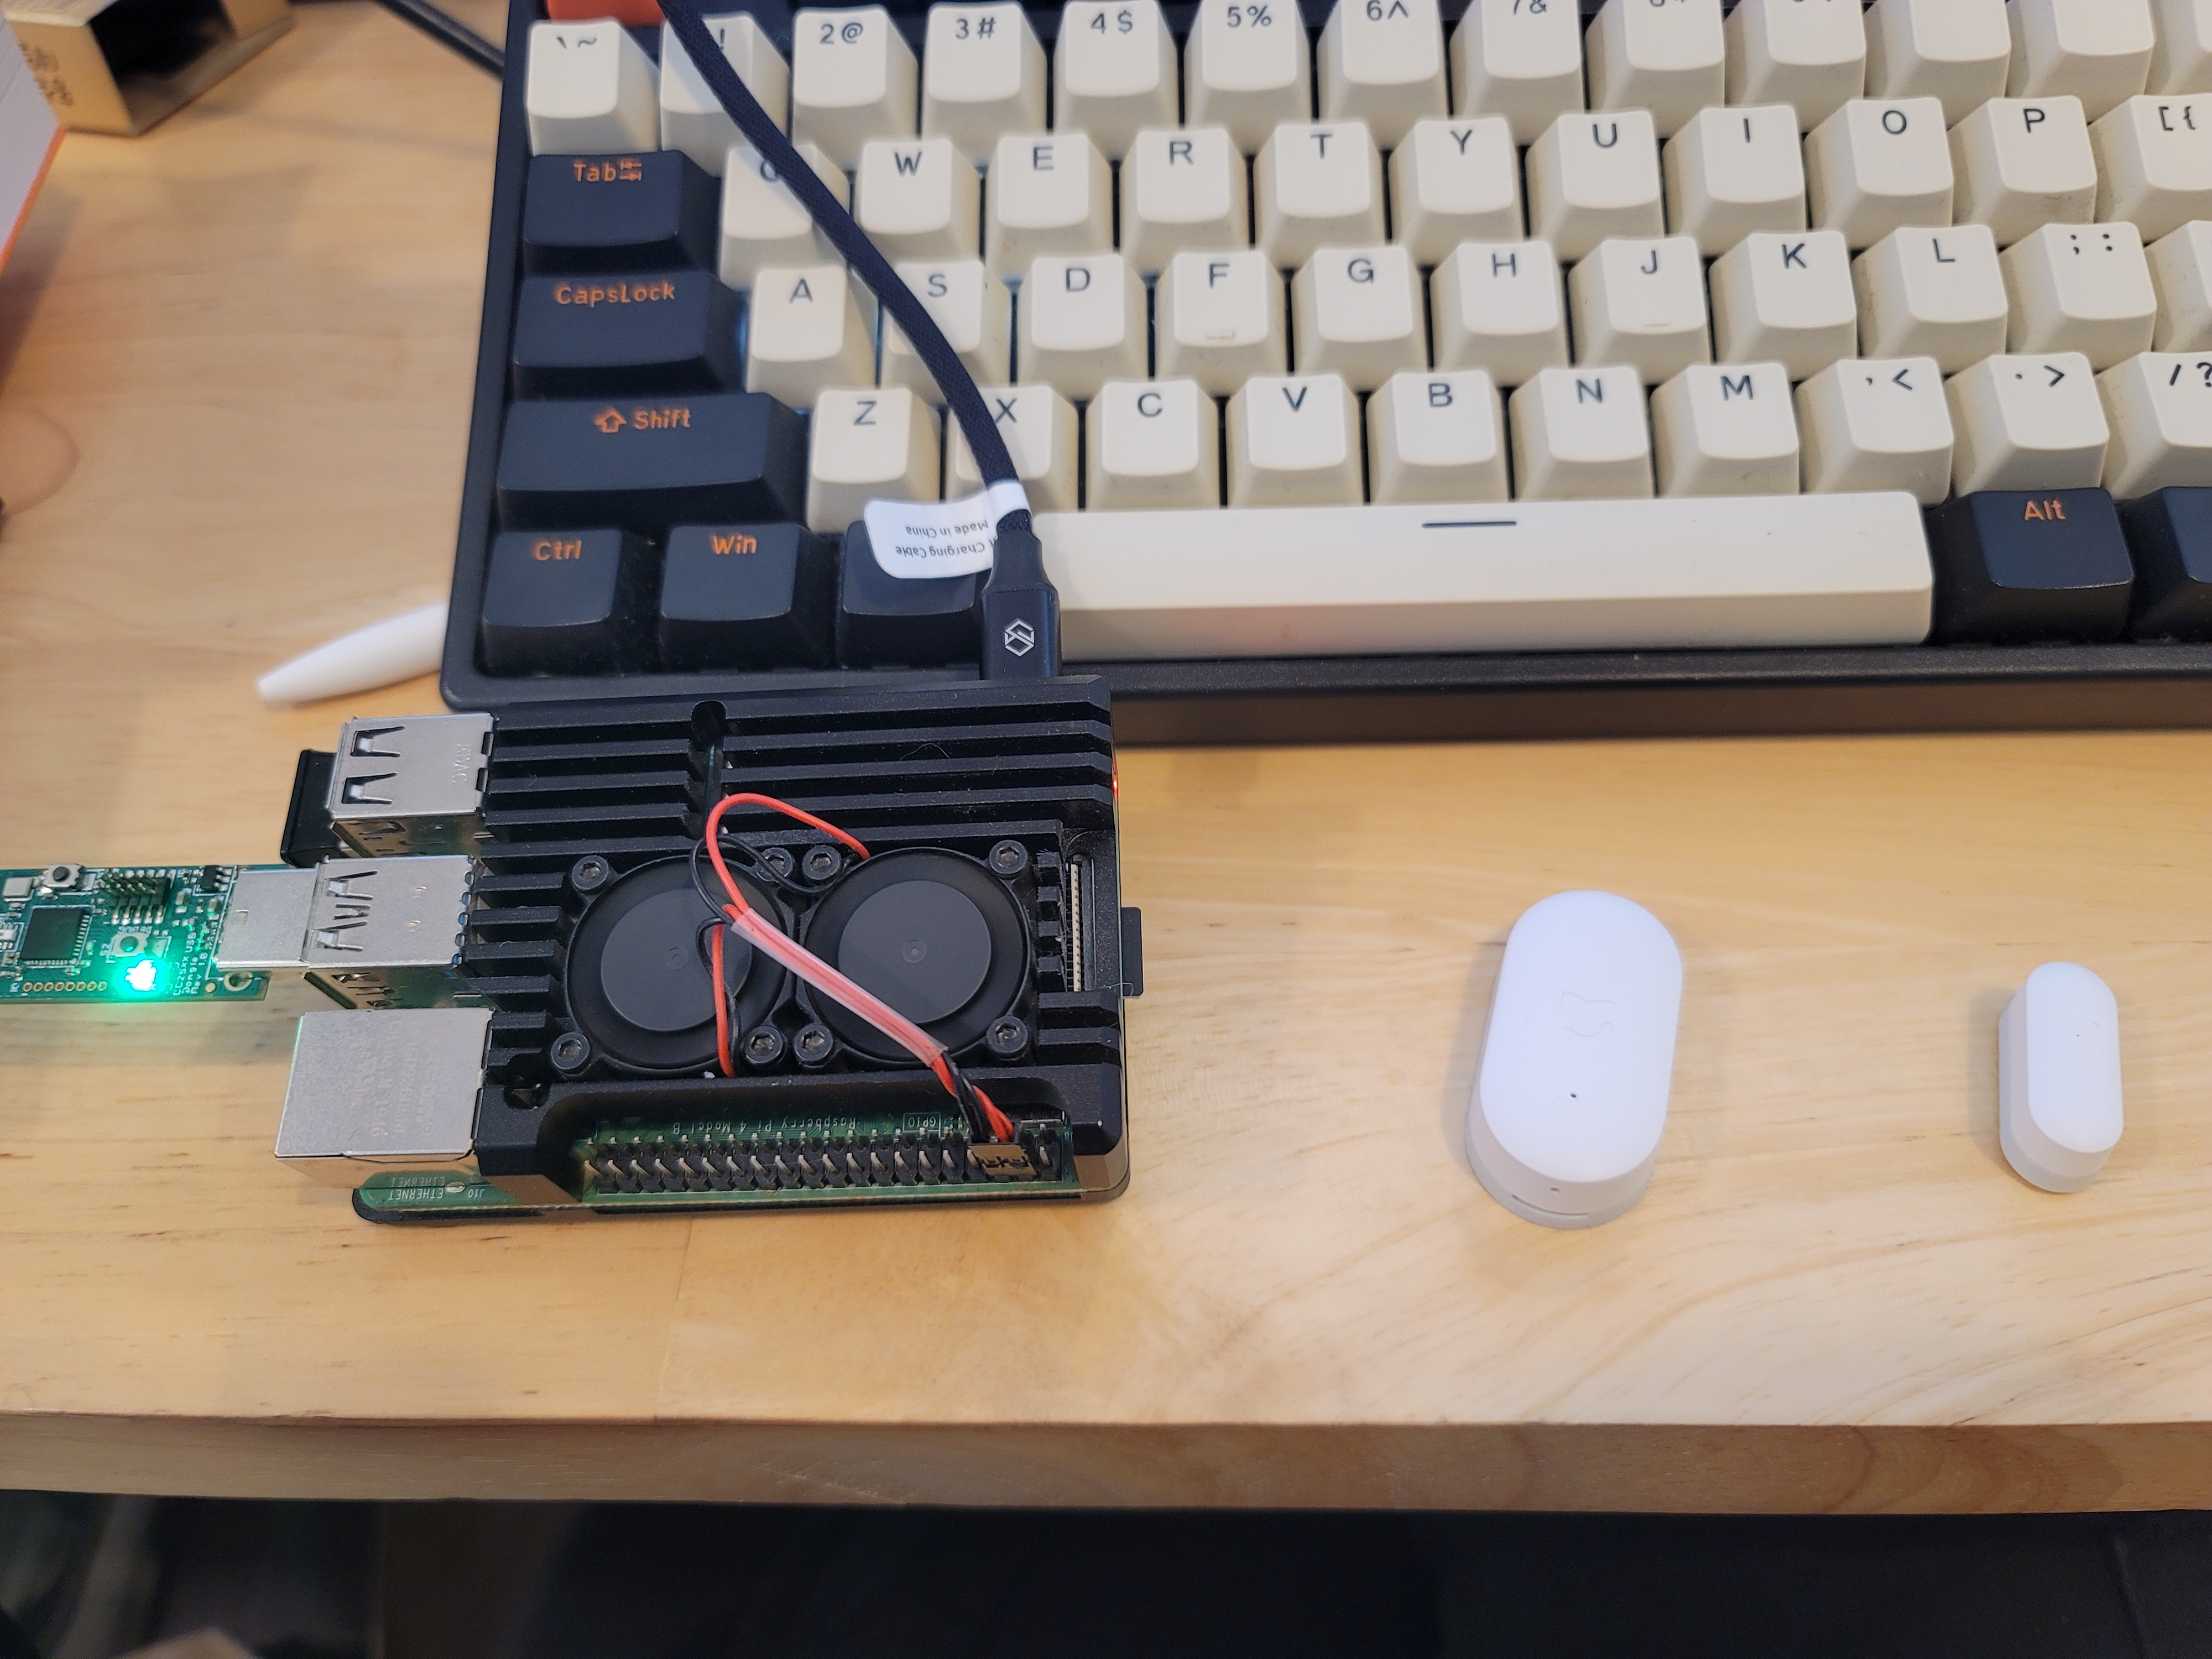
0. Architecture

1. Result
Door sensor close


{
  "battery": 100,
  "contact": true,
  "linkquality": 136,
  "power_outage_count": 191,
  "voltage": 3015
}
Door sensor open
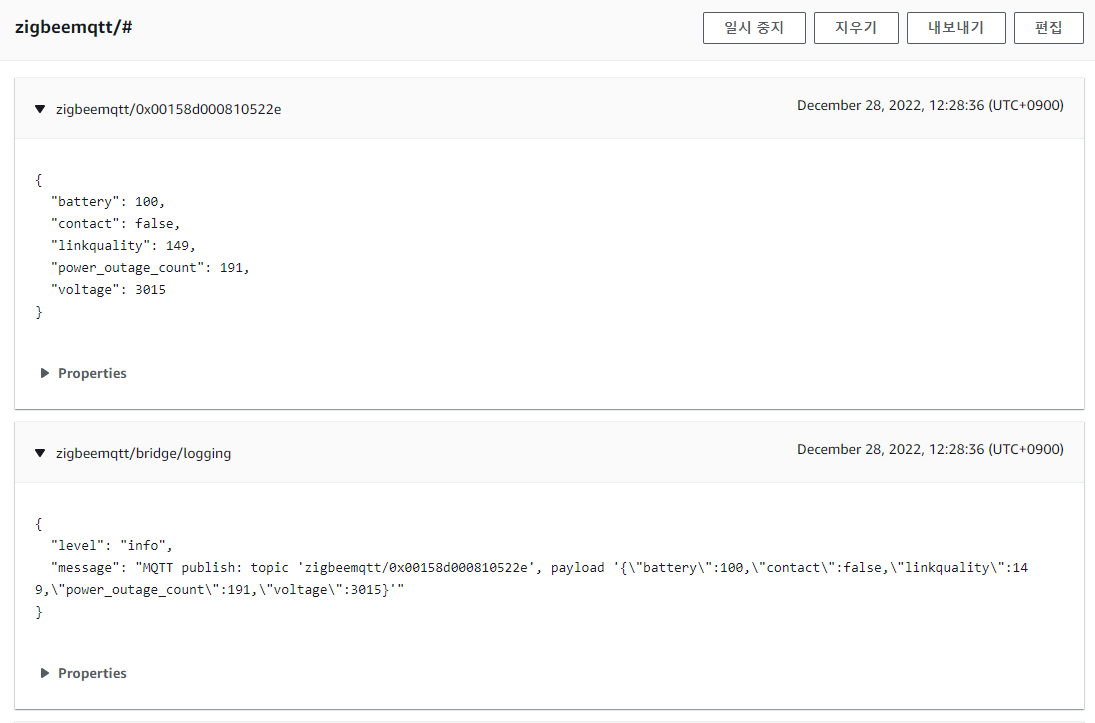
{
  "battery": 100,
  "contact": false,
  "linkquality": 149,
  "power_outage_count": 191,
  "voltage": 3015
}
2. Setting in rasberry pi
2-1. create docker-compose.yml
// zigbee2mqtt/docker-compose.yml
version: '3.8'
services:
  mqtt:
    image: eclipse-mosquitto:2.0
    restart: unless-stopped
    volumes:
      - "./mosquitto:/mosquitto"
    ports:
      - "1883:1883"
      - "8883:8883"
    command: "mosquitto -c ./mosquitto/conf.d/bridge.conf -v"

  zigbee2mqtt:
    container_name: zigbee2mqtt
    restart: unless-stopped
    image: koenkk/zigbee2mqtt
    volumes:
      - ./zigbee2mqtt-data:/app/data
      - /run/udev:/run/udev:ro
    ports:
      - 8080:8080
    environment:
      - TZ=Asia/Seoul
    devices:
      - /dev/ttyACM0
    depends_on:
      - mqtt
2-2. create zigbee2mqtt configuration.yaml
// zigbee2mqtt/zigbee2mqtt-data/configuration.yaml

# Let new devices join our zigbee network
permit_join: true
# Docker-Compose makes the MQTT-Server available using "mqtt" hostname
mqtt:
  base_topic: zigbeemqtt
  server: mqtt://mqtt
# Zigbee Adapter path
serial:
  port: /dev/ttyACM0
# Enable the Zigbee2MQTT frontend
frontend:
  port: 8080
# Let Zigbee2MQTT generate a new network key on first start
advanced:
  network_key: GENERATE
output: 'json'
참조 : https://www.zigbee2mqtt.io/guide/getting-started/#installation
Getting started | Zigbee2MQTT
Getting started Prerequisites In order to use Zigbee2MQTT we need the following hardware: A Zigbee Adapter which is the interface between the Computer (or Server) where you run Zigbee2MQTT and the Zigbee radio communication. Zigbee2MQTT supports a variety
www.zigbee2mqtt.io
2-3. create bridge.conf
listener 1883
allow_anonymous true

# ============================================================
# Bridge to AWS IOT
# ============================================================

connection awsiot

#<Paste your AWS IoT Core ATS endpoint retrieved from the AWS CLI in the form of xxxxxxxxxxxxxxx-ats.iot.<region>.amazonaws.com:8883

address xxxxxxxxxxxxxxx-ats.iot.<region>.amazonaws.com:8883

# Specifying which topics are bridged and in what fashion
topic awsiot_to_localgateway in 1
topic localgateway_to_awsiot out 1
topic both_directions both 1

# Setting protocol version explicitly
bridge_protocol_version mqttv311
bridge_insecure false

# Bridge connection name and MQTT client Id, enabling the connection automatically when the broker starts.
cleansession true
clientid bridgeawsiot
start_type automatic
notifications false
log_type all

# ============================================================
# Certificate based SSL/TLS support
# ============================================================

#Path to the rootCA
bridge_cafile /etc/mosquitto/certs/rootCA.pem

# Path to the PEM encoded client certificate
bridge_certfile /etc/mosquitto/certs/cert.crt

# Path to the PEM encoded client private key
bridge_keyfile /etc/mosquitto/certs/private.key

#END of bridge.conf
참조 : https://aws.amazon.com/ko/blogs/iot/how-to-bridge-mosquitto-mqtt-broker-to-aws-iot/
How to Bridge Mosquitto MQTT Broker to AWS IoT | Amazon Web Services
UPDATE: The original blog post written on August 18th 2016 has been updated to this current version with the help of the author Michael Garcia (Principal Solutions Architect at AWS) and Anish Yadav (Cloud Support Associate at AWS). Whether it is in the con
aws.amazon.com
3. AWS IOT Setting
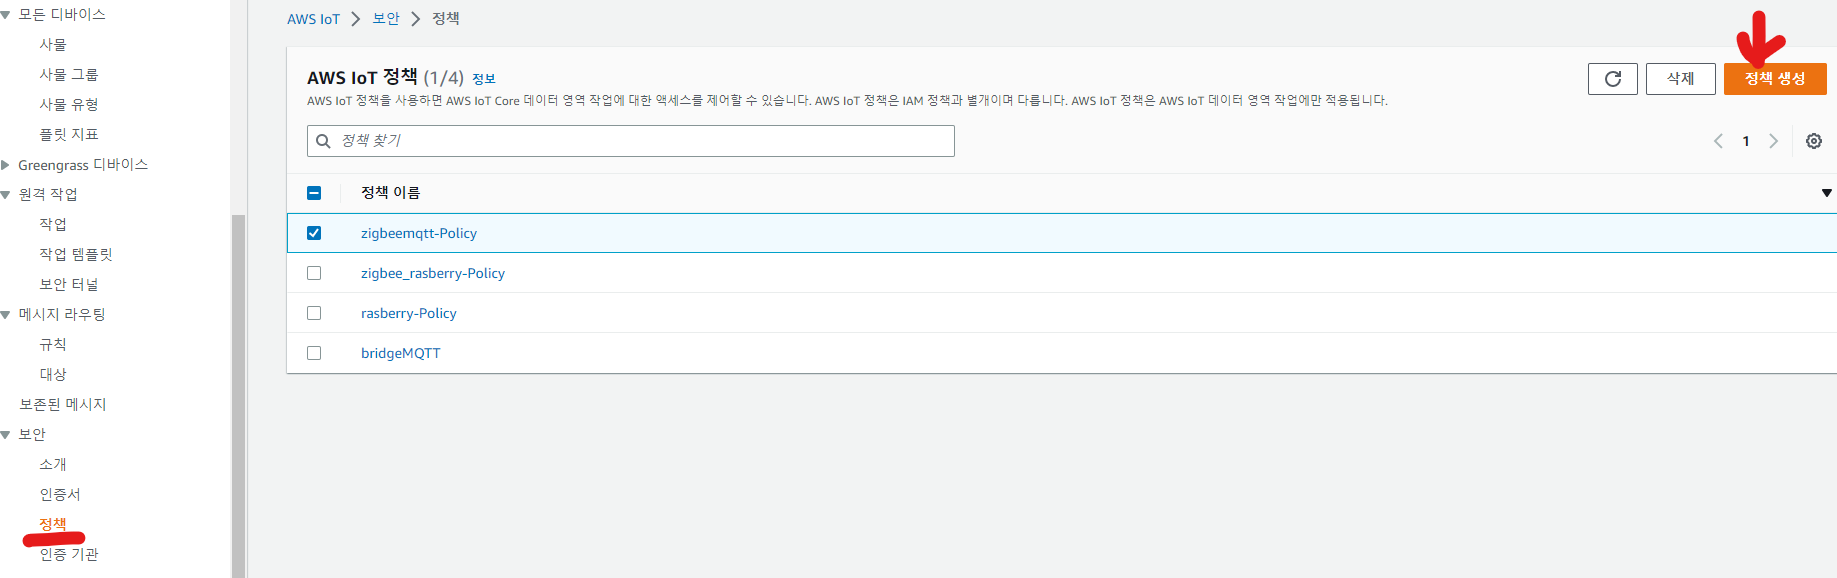
3-1. 정책 생성

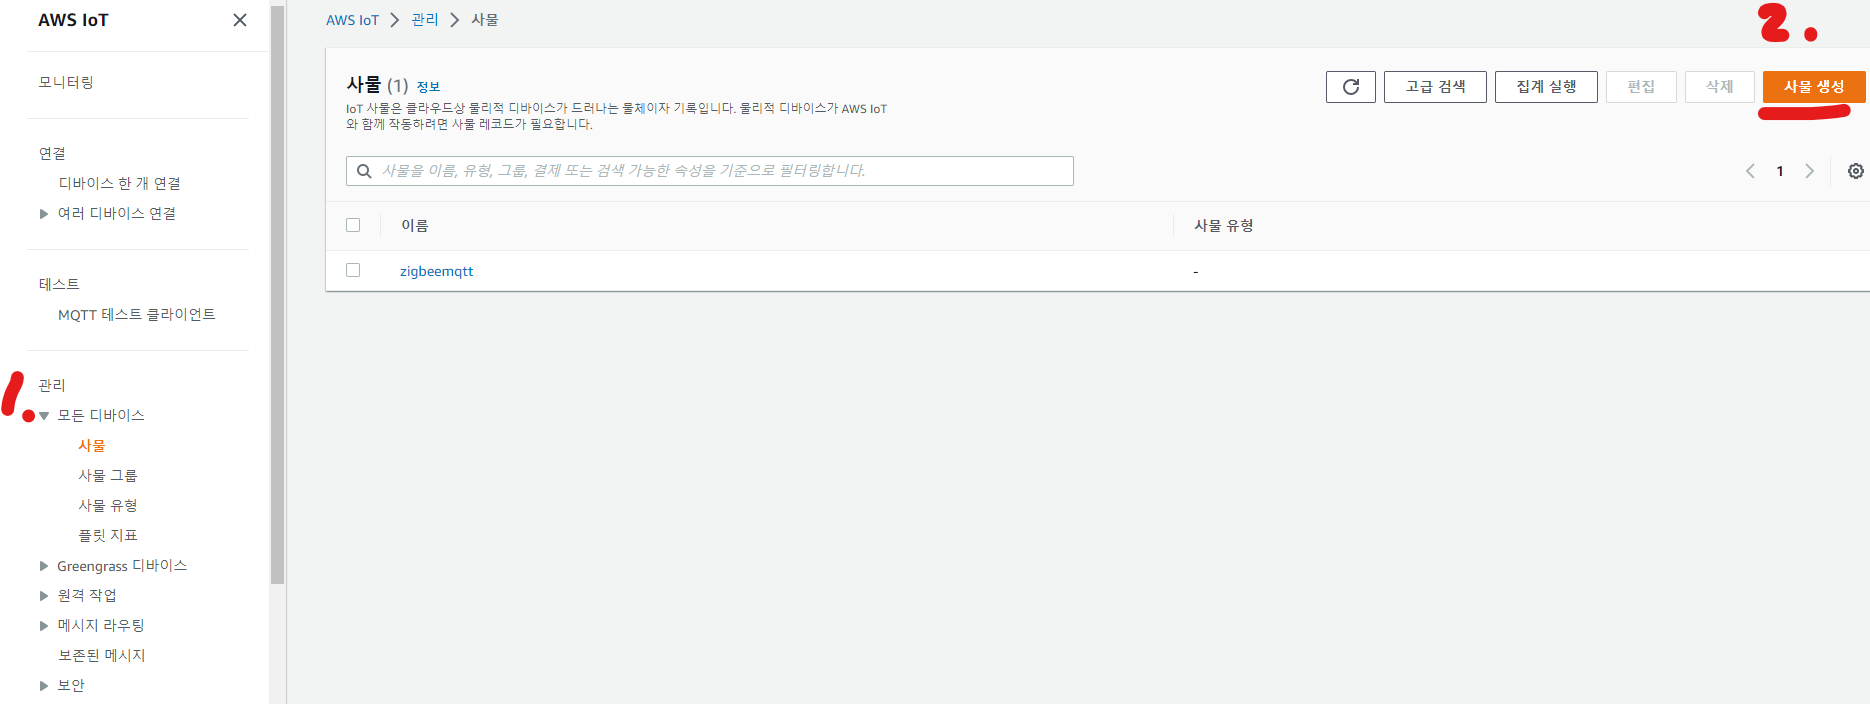
3-2. 사물 생성
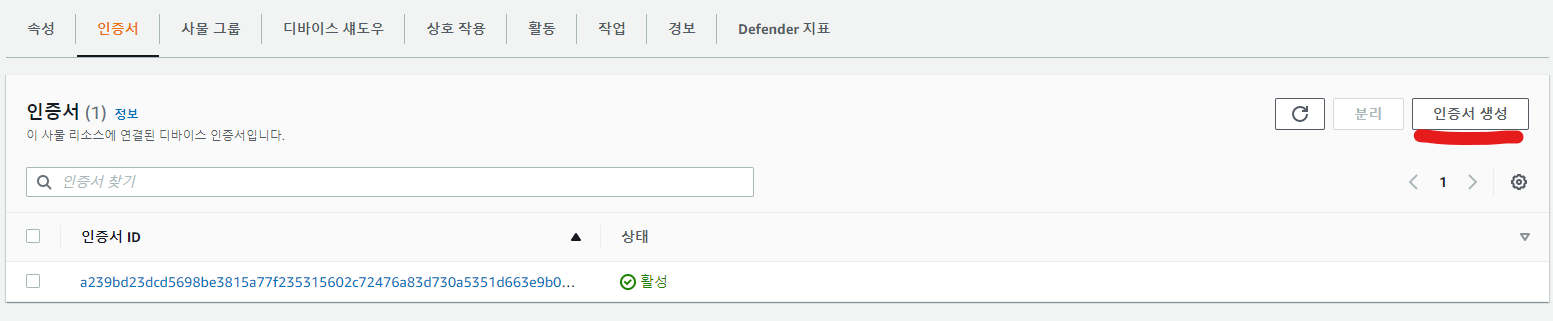
3-3. 인증서 생성 후 모든 인증서를 다운로드
3-4. 인증서는 다음에 위치
./zigbee2mqtt/mosquitto/config/certs
sudo chmod 644 인증서.pem.crt
sudo chmod 644 인증서.private.pem.key
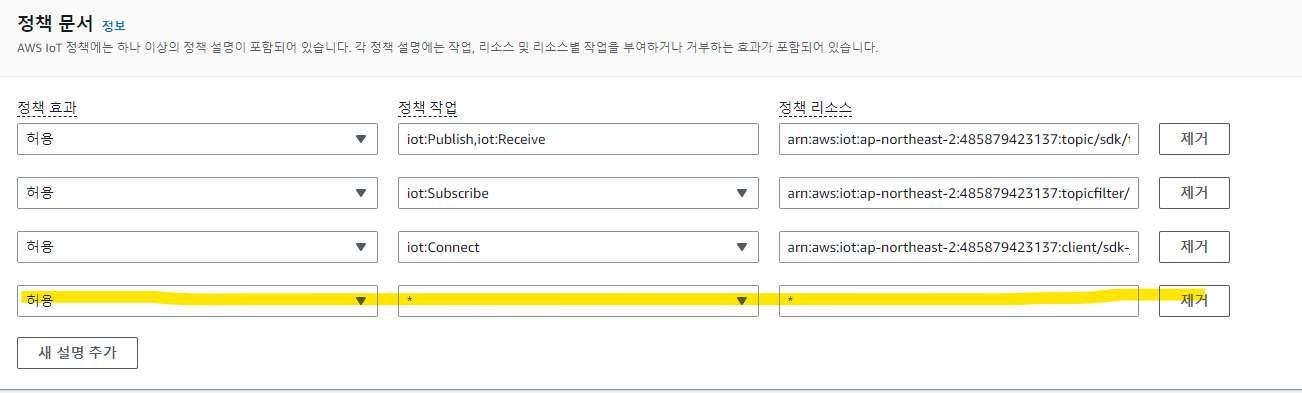
sudo chmod 644 인증서.public.pem.key3-5. 정책 생성
정책은 다음과 같이 * 로 표시
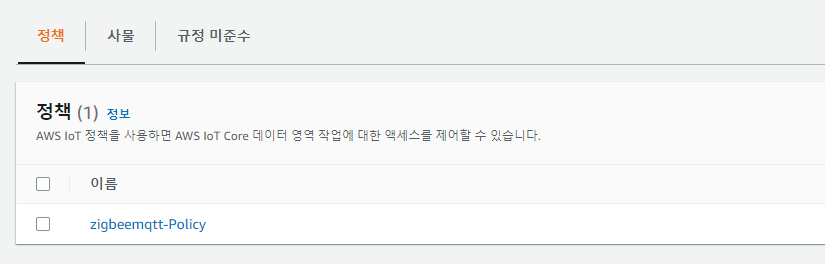
3-6. 정책을 인증서에 추가
4. docker-compose up -d

+ 기기 페어
5. 로그 확인
docker logs -t -f 컨테이너이름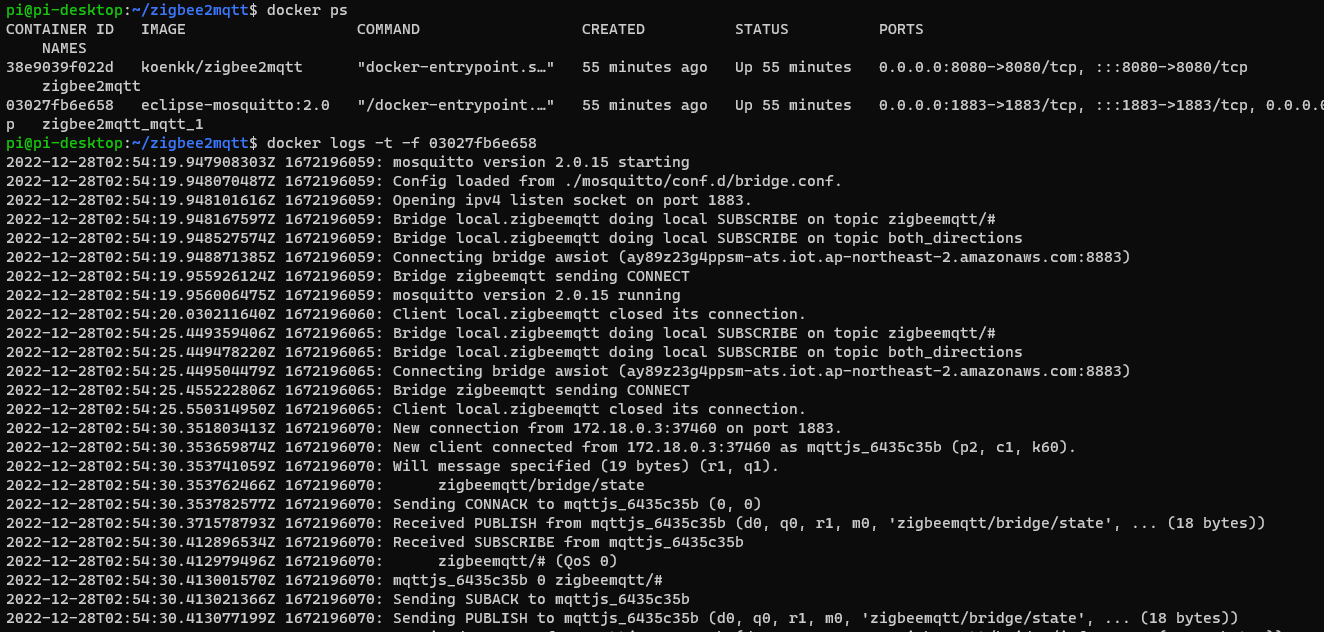
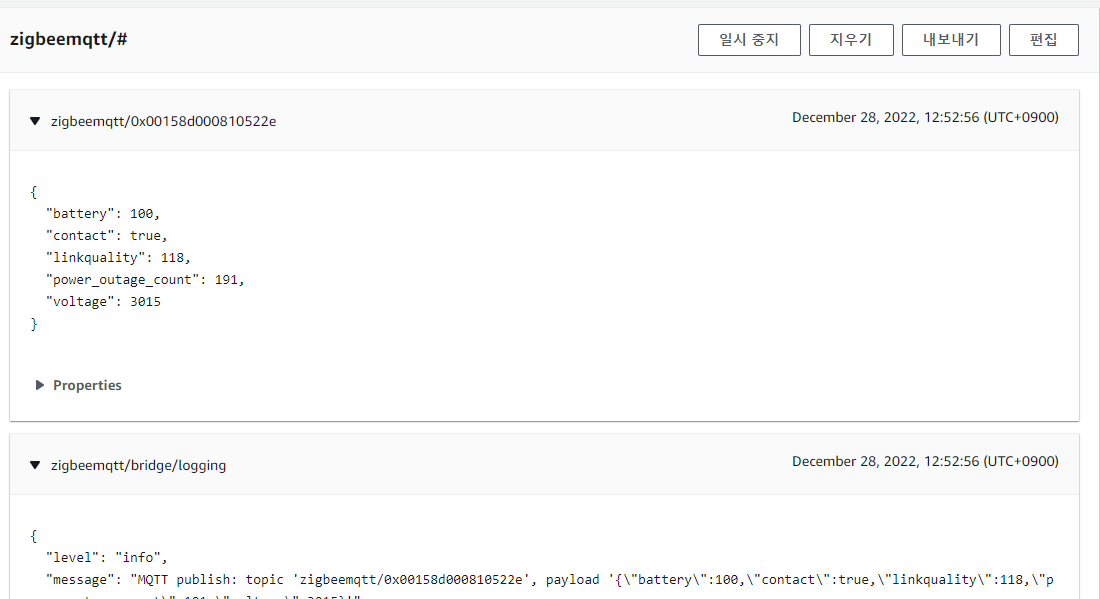
6. AWS에서 확인
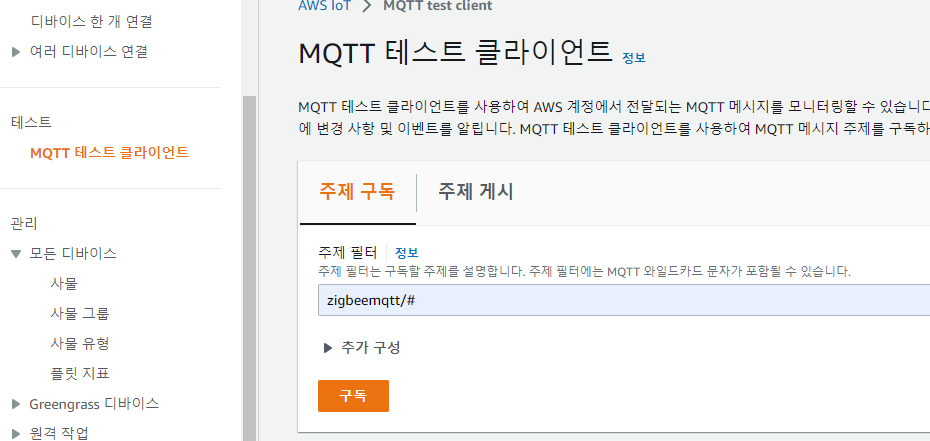
base_topic/# 으로 구독 (base_topic : zigbeemqtt)
Result
7. Next ?
(예상) AWS IOT -> Lambda -> ESP8266 -> LED Strip
'토이프로젝트' 카테고리의 다른 글
| 현관문 프로젝트) LED Strip + Door sensor + esp8266 & pi 3편 (0) | 2022.11.18 |
|---|---|
| 현관문 프로젝트) LED Strip + Door sensor + Arduino 1편 (0) | 2022.10.20 |
| 현관문에 led스트렙을 설치해보자! (구상)(업데이트중) (0) | 2022.10.20 |
| 현관문 프로젝트) LED Strip + Door sensor + Arduino 2편 (0) | 2022.09.16 |


